Where Water Gets Into Masonry First
When water appears inside a masonry building, the source may seem obvious.
A wet area near a window must mean the window is leaking. A stain below the roofline must mean the roof is the problem.
In reality, water does not always travel in a straight line.
Moisture can enter through one area, travel through a wall cavity or along structural materials, and become visible somewhere else. The interior stain may be several feet away from the actual entry point.
Finding the source requires looking at the entire building exterior and understanding where masonry systems are most vulnerable.
Masonry Walls Are Designed to Manage Water
Brick, stone, and mortar are durable materials, but the visible masonry is only one part of the building envelope.
A properly designed wall may also include:
- A water-resistant barrier
- A drainage cavity
- Through-wall flashing
- Weep openings
- Window and door flashing
- Sealant joints
- Sloped sills and wall caps
- Roof and gutter drainage
These components work together to manage moisture and direct it back outside.
Water problems often begin where one part of the system is damaged, missing, blocked, or improperly connected to another.
1. Parapets, Chimney Crowns, and Wall Caps
Horizontal masonry surfaces receive direct exposure to rain, snow, and ice.
Common examples include:
- Parapet walls
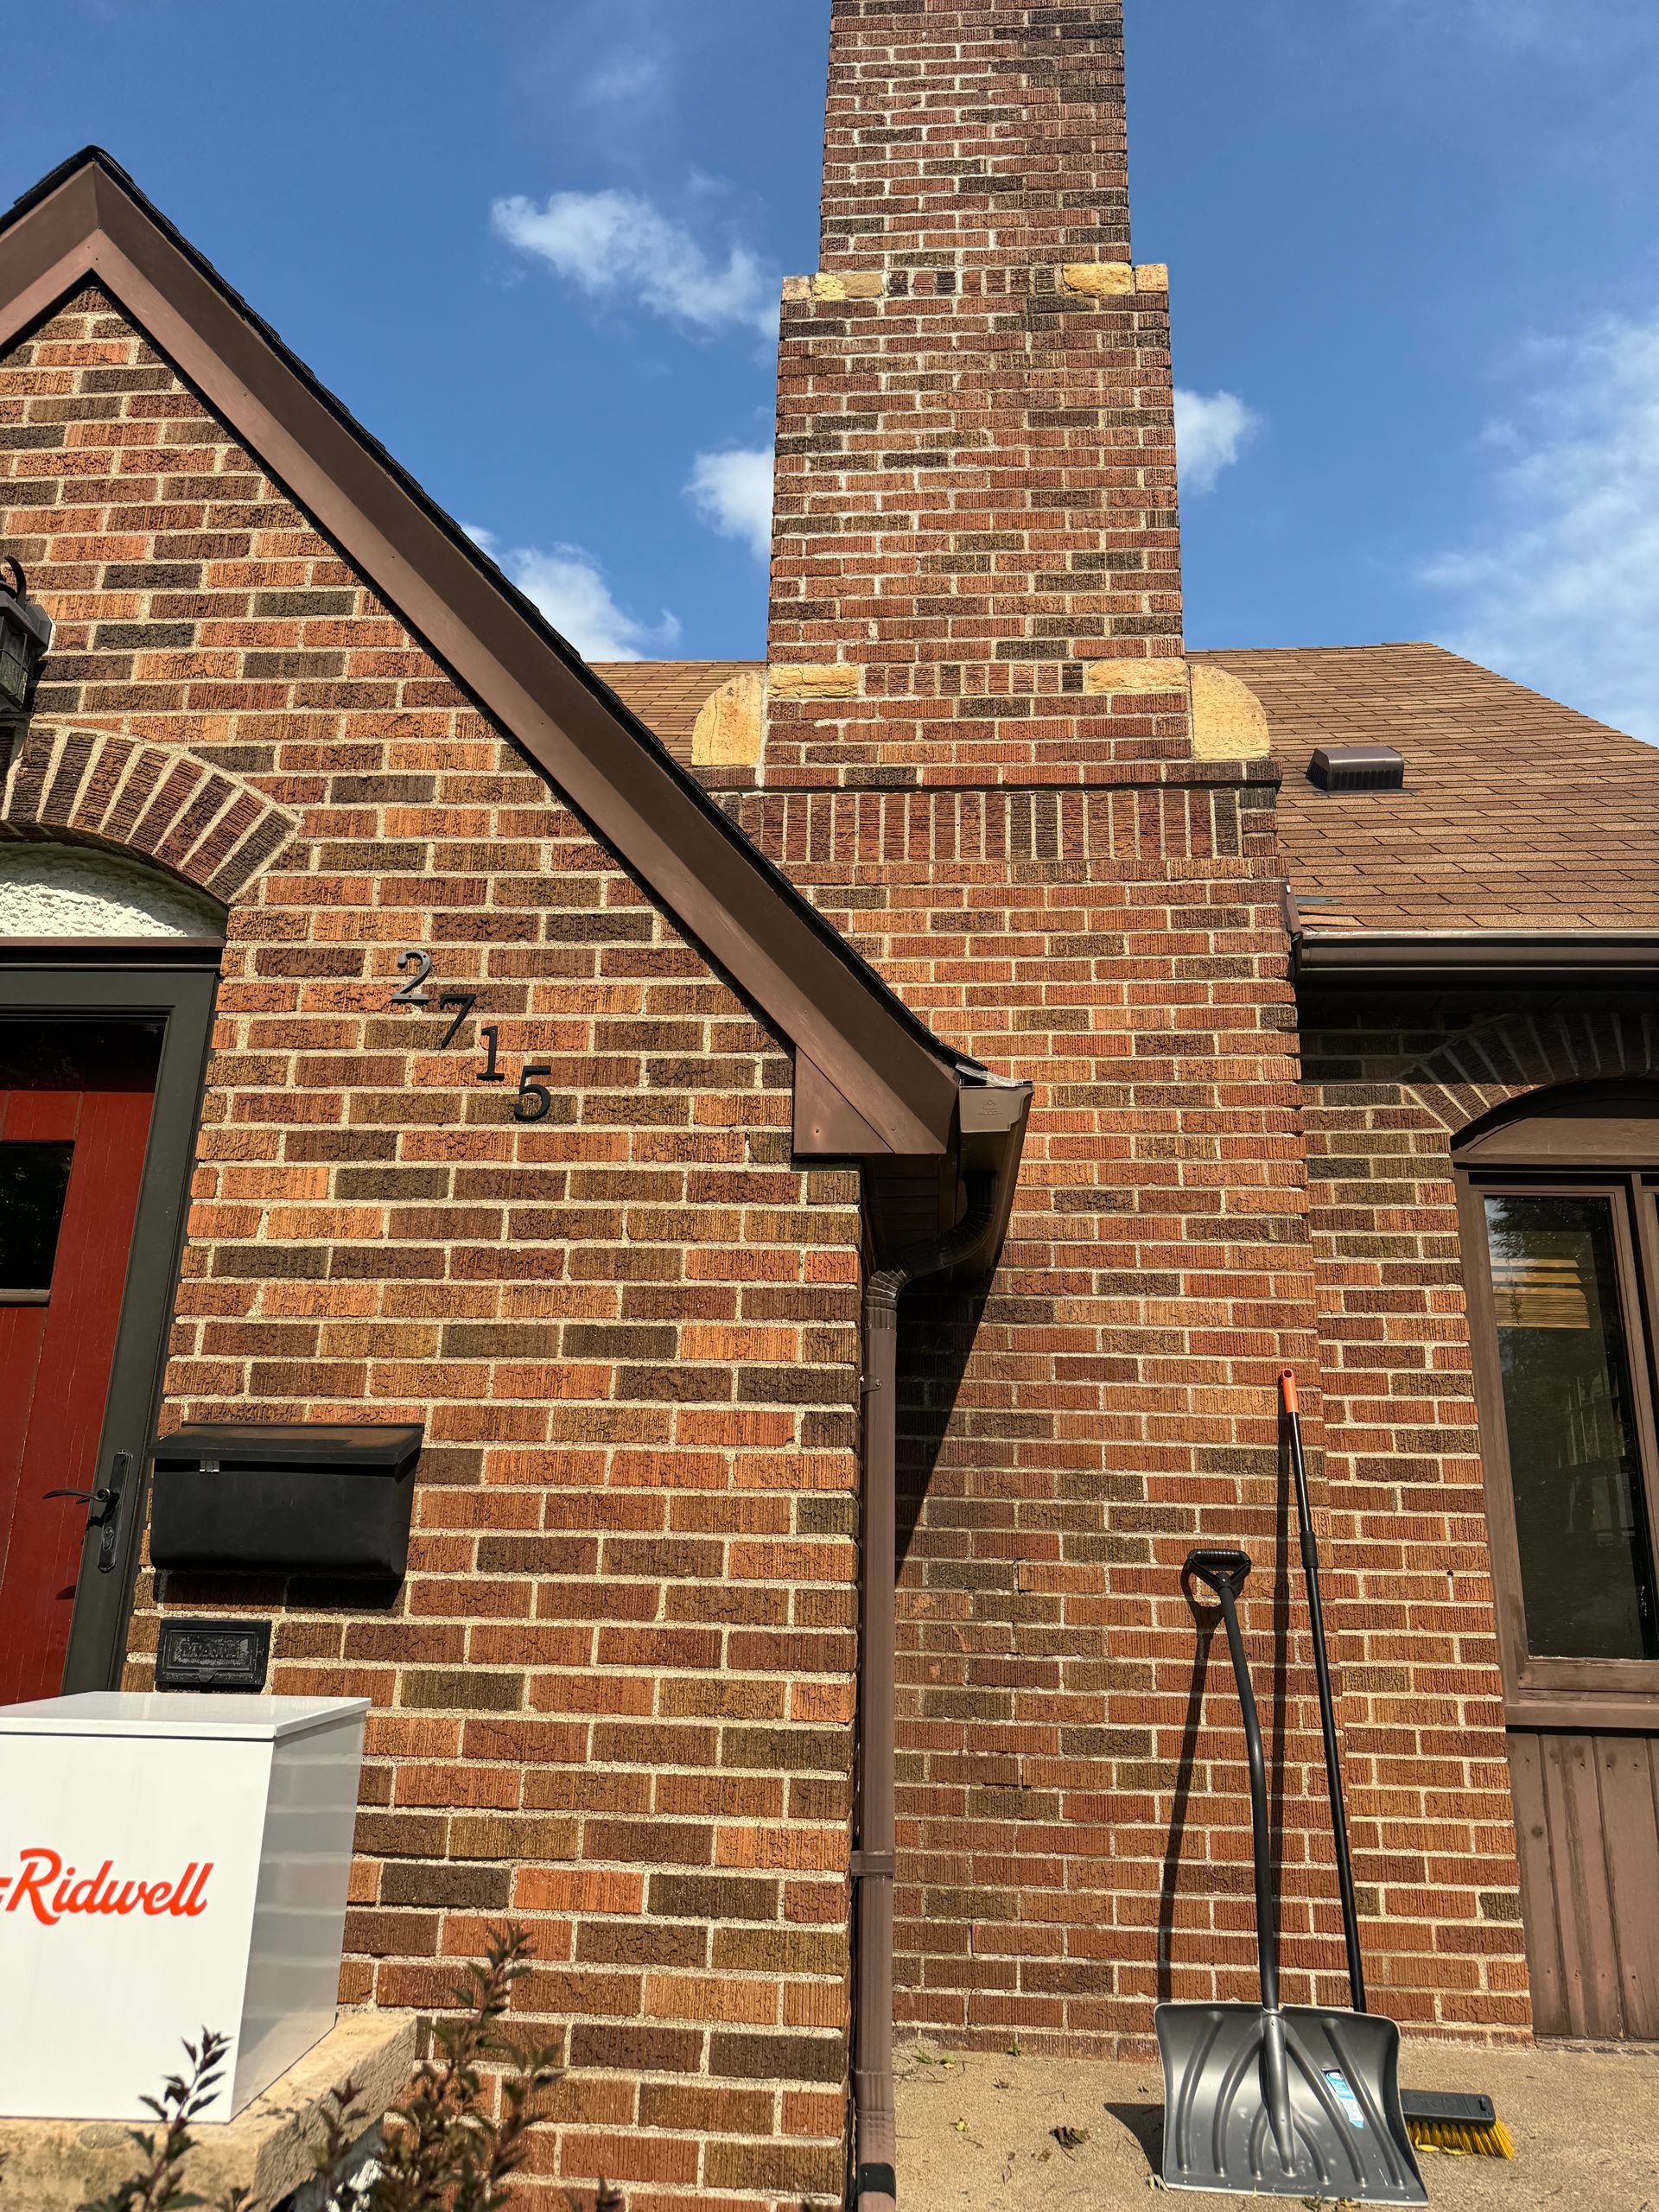
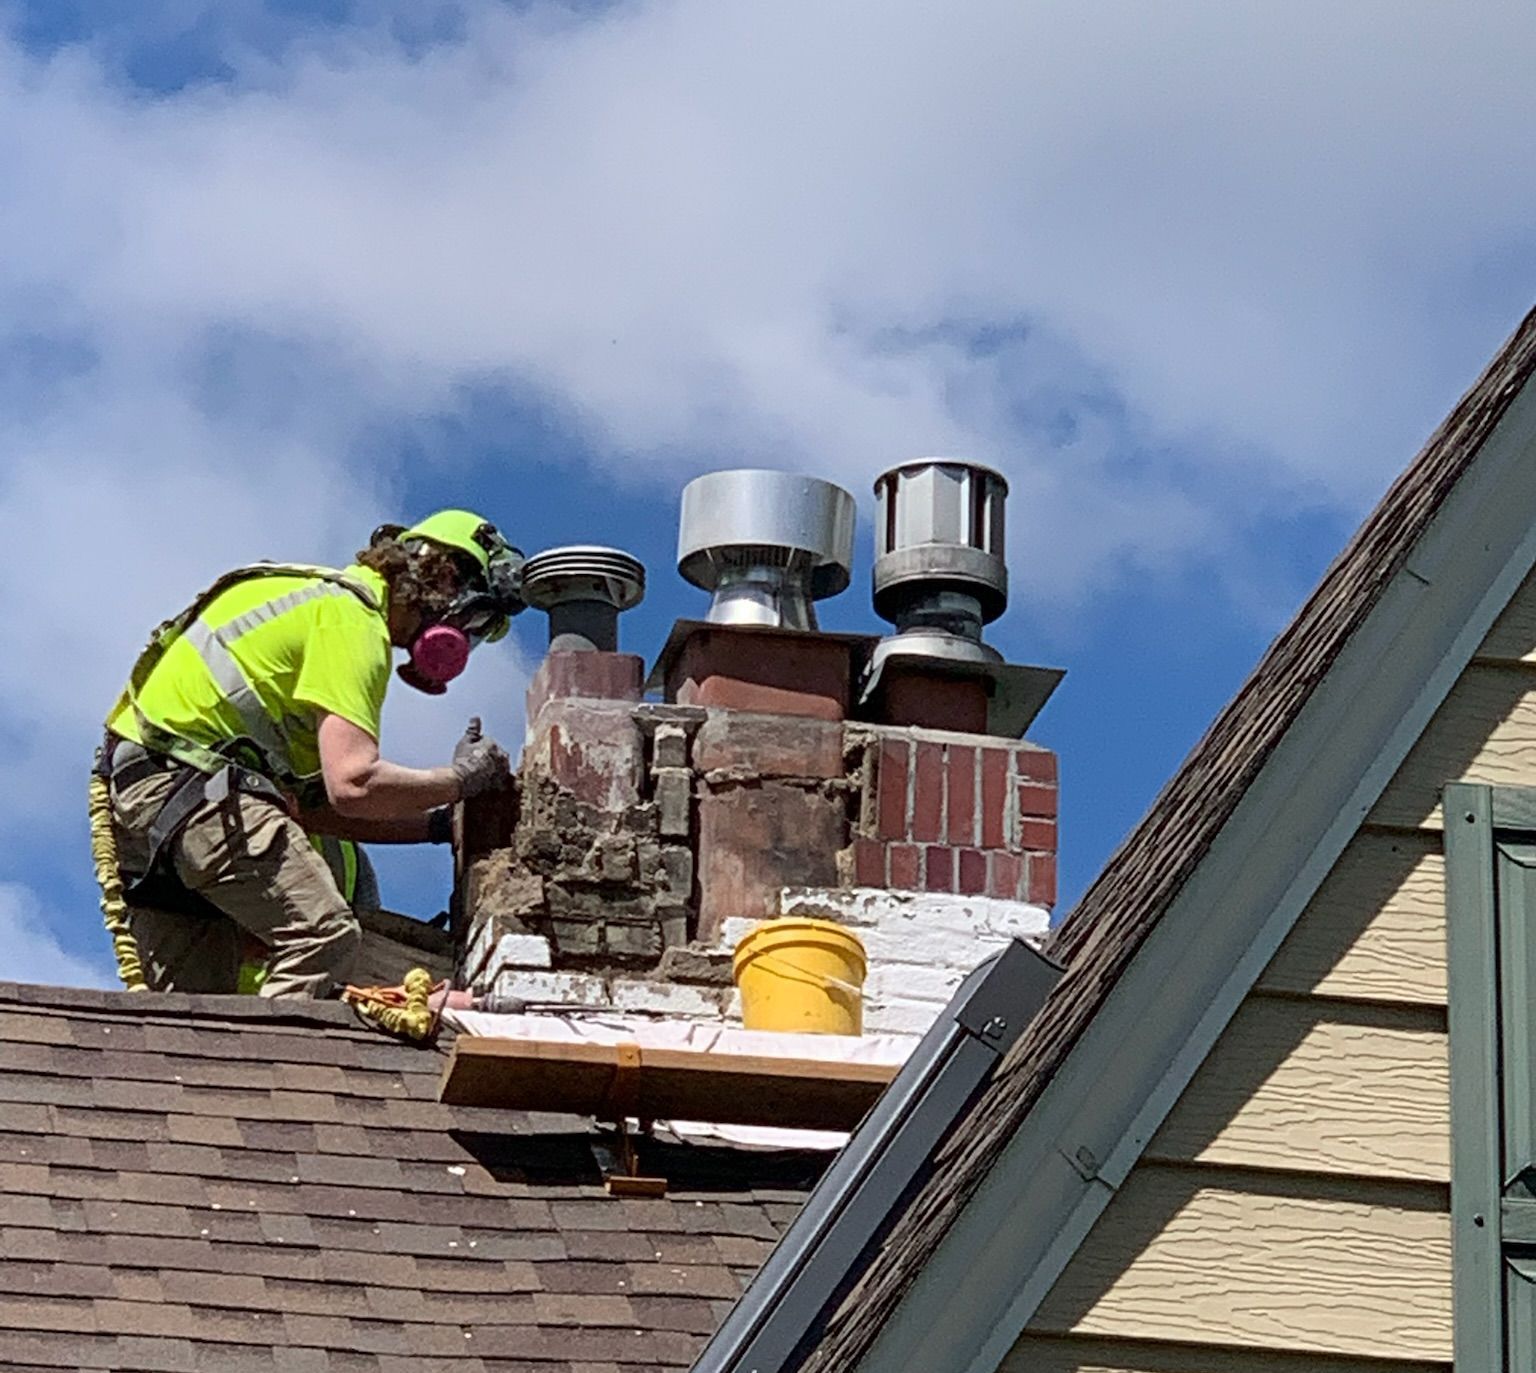
- Chimney crowns
- Wall caps
- Coping stones
- Window sills
- Projecting ledges
- Column caps
- Masonry steps
These surfaces should be sloped and detailed to move water away from the building.
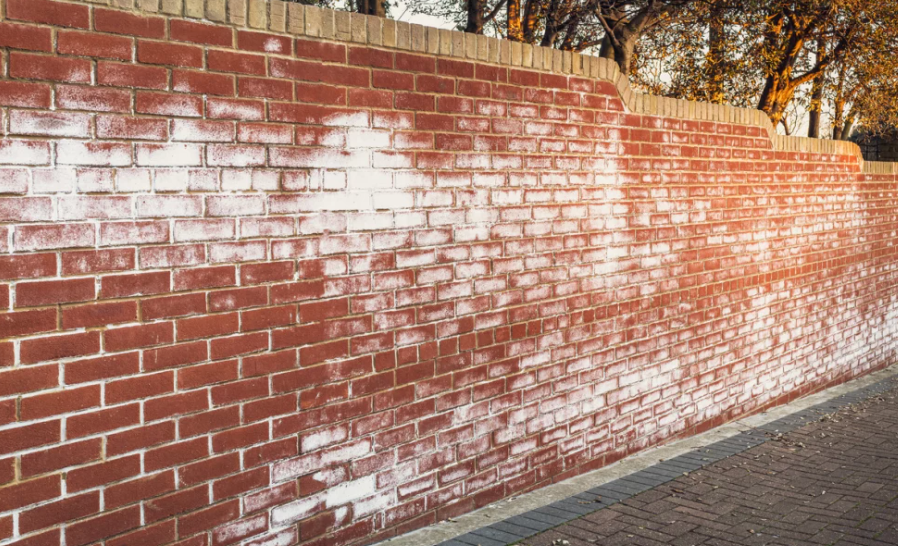
Cracks, failed joints, insufficient overhangs, and missing drip edges can allow moisture to enter from the top. Once inside, the water can travel downward and cause staining, efflorescence, deteriorating mortar, or interior leaks that will cause damage to interior building elements like plaster, drywall, studs, window frames, etc.
Repairing the visible damage below will not solve the issue if the top of the wall remains open.
2. Windows and Doors
Windows and doors create several transitions within a masonry wall.
Potential entry points include:
- The header above the opening
- The sill below the window
- The sides of the frame
- Sealant joints
- Concealed flashing
- The lintel above the opening
- Connections between the opening and the wall’s drainage system
Failed sealant is a common problem, but replacing the exterior caulking may not correct missing flashing, blocked weeps, damaged sills, or gaps behind the masonry.
Recurring leaks around a window or door often require evaluating the entire opening rather than treating only the most visible joint.
3. Roof-to-Wall Intersections
Where a roof meets a masonry wall, runoff can become concentrated in a relatively small area.
These transitions may include:
- Step flashing
- Counterflashing
- Through-wall flashing
- Kickout flashing
- Roofing membranes
- Gutters
- Sealant at flashing terminations
If these components are missing, improperly installed, or no longer functioning, water can move behind the brick or into the wall assembly.
Roof-to-wall intersections are especially common sources of hidden leaks because the water may enter above the area where damage becomes visible.
4. Open or Deteriorated Mortar Joints
Mortar joints naturally weather over time.
They may:
- Crack
- Erode
- Recede
- Separate from the brick
- Crumble
- Wash out
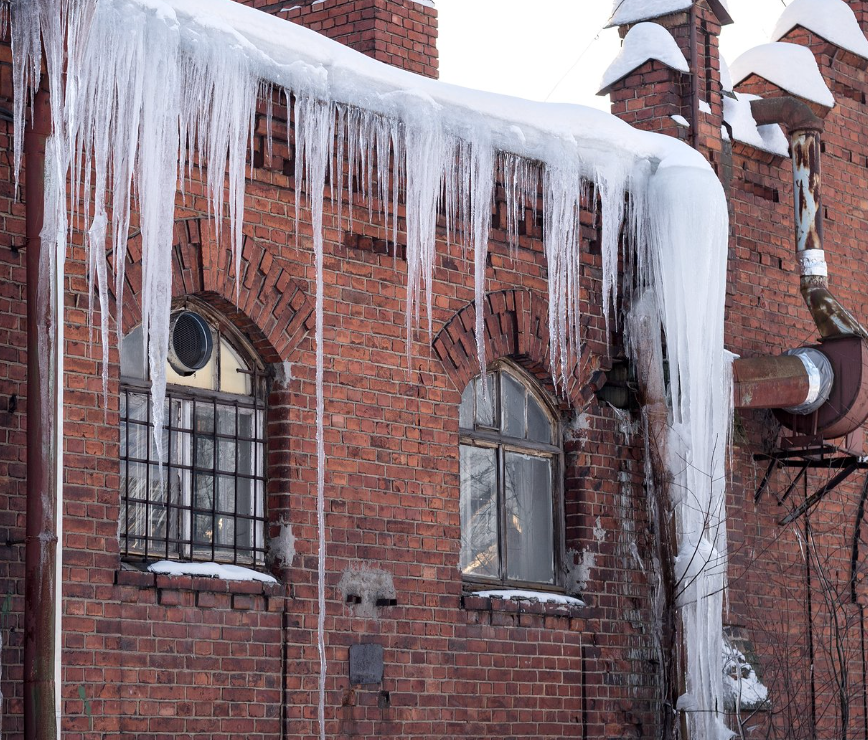
- Deteriorate from freeze-thaw exposure
- Fail because of an incompatible previous repair
Open mortar joints create direct paths for wind-driven rain.
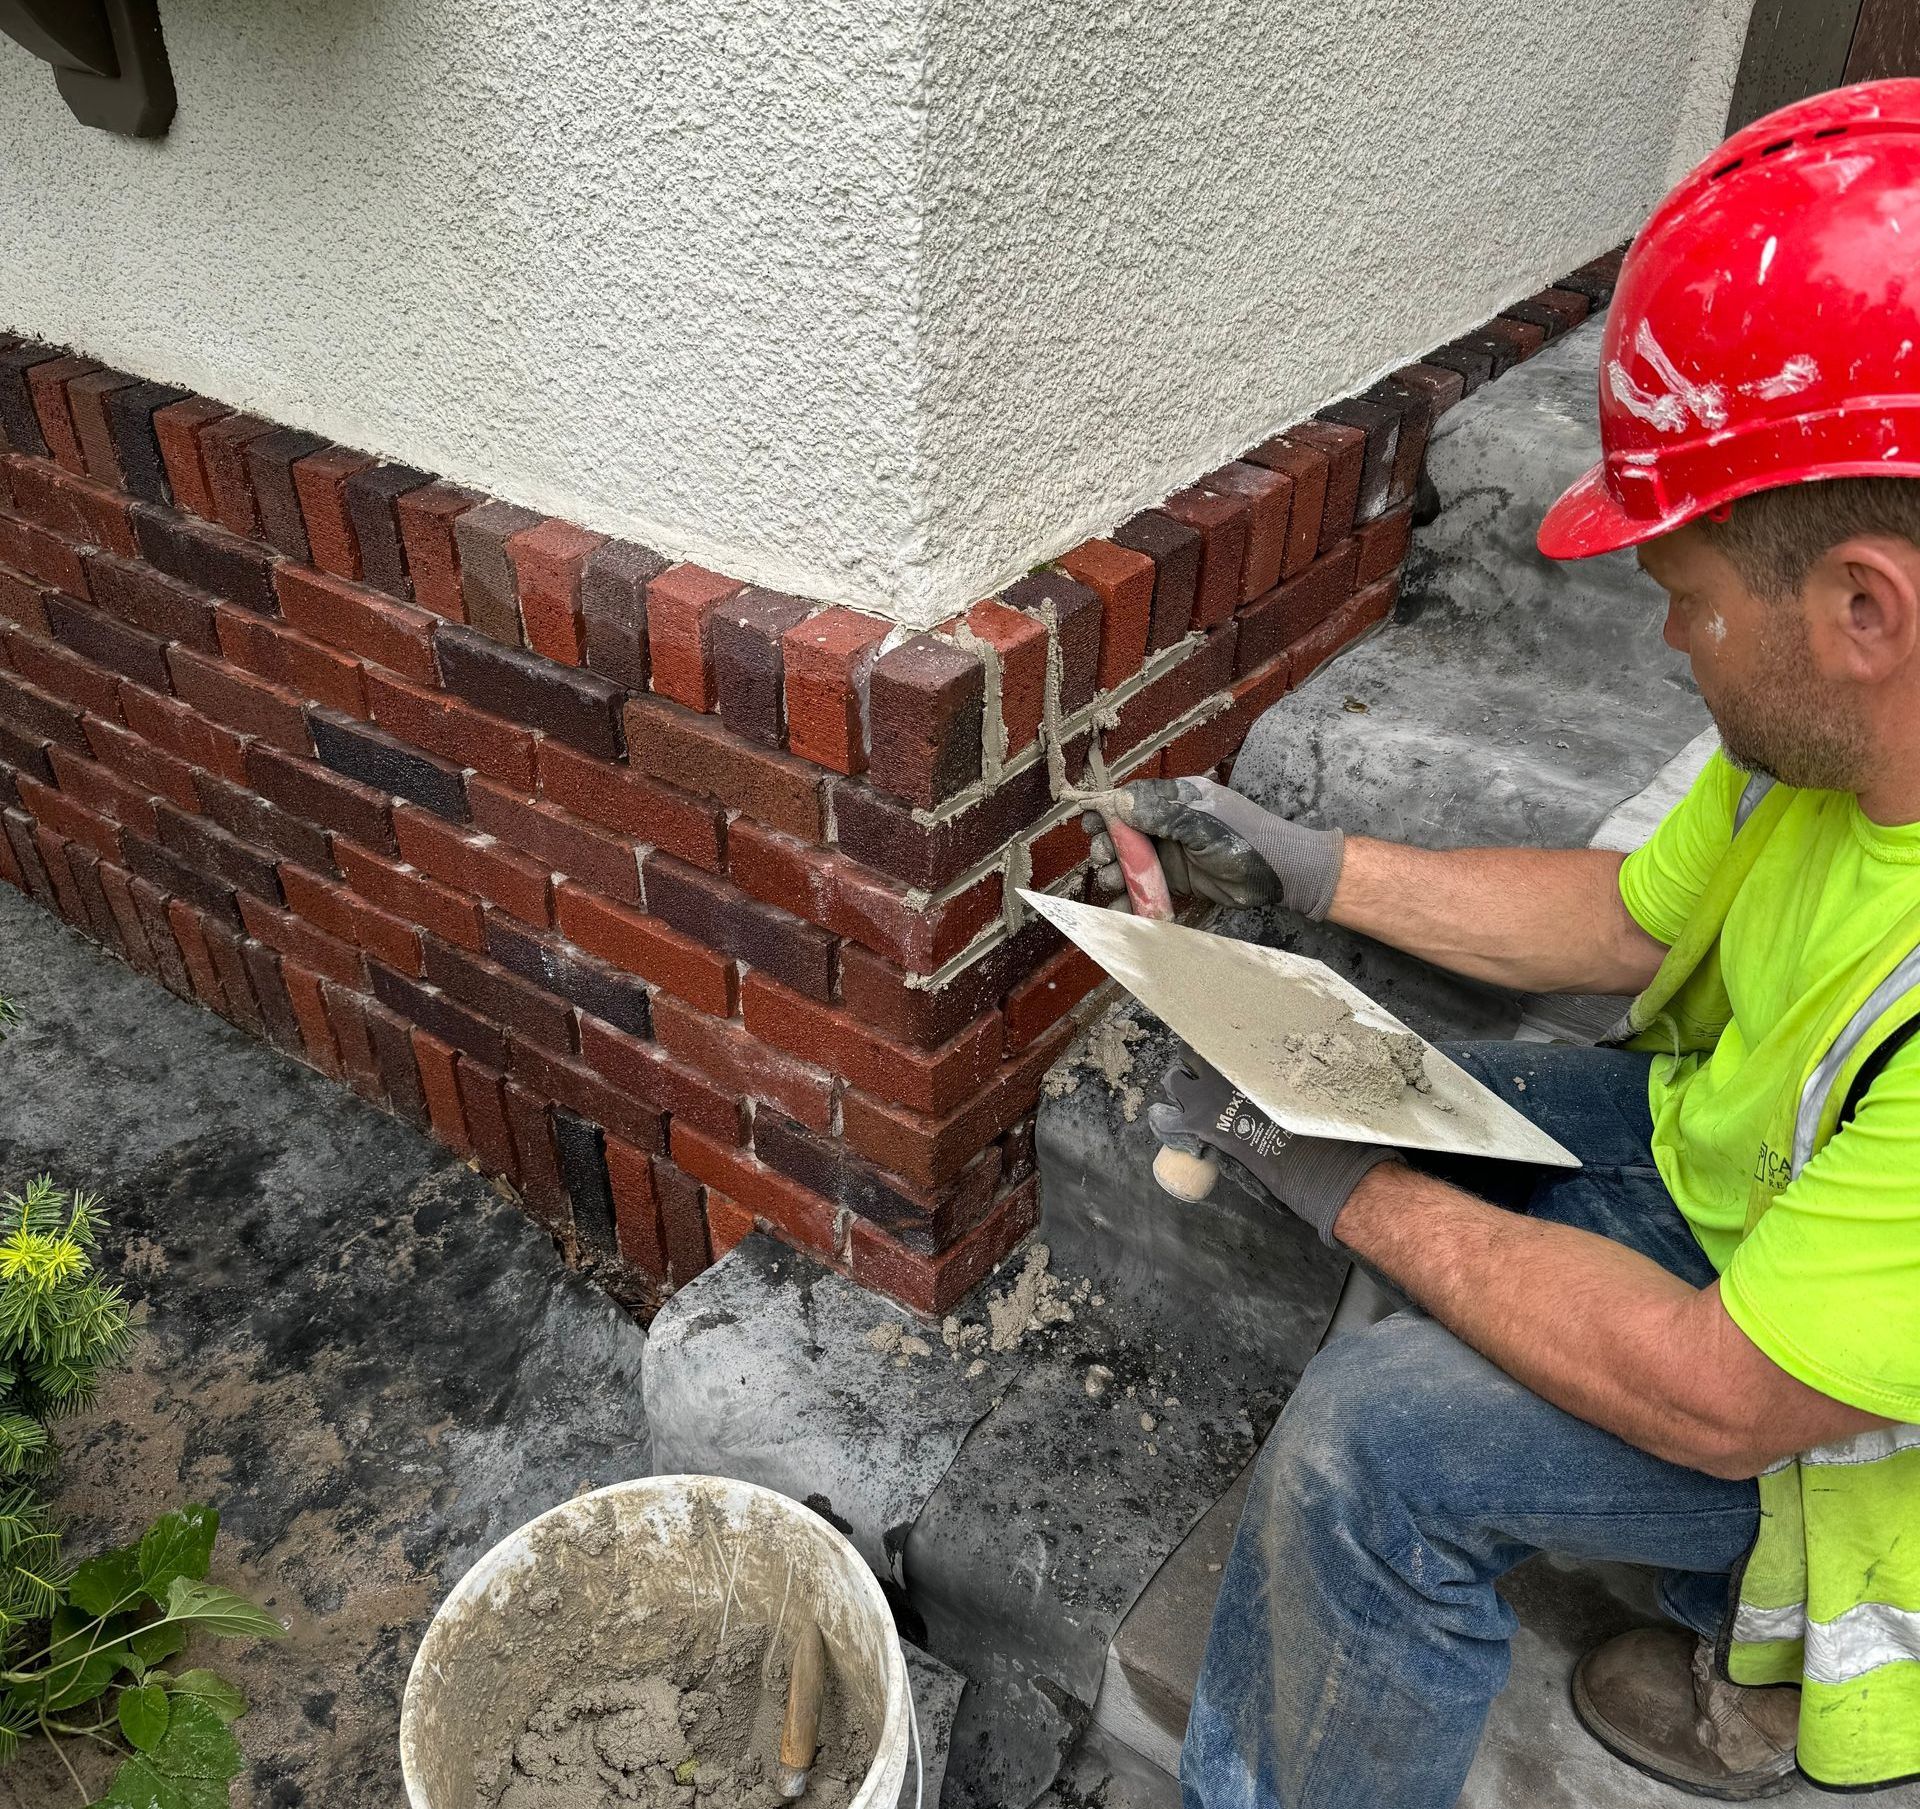
Tuckpointing may be necessary when mortar has deteriorated. However, widespread mortar failure may also indicate repeated saturation, building movement, poor drainage, or water entering from above.
The cause of the deterioration should be considered before the joints are repaired.
5. Cracked or Spalling Brick and Stone
Cracks through brick and stone can allow water deeper into the wall.
Spalling occurs when the face of a brick, stone, or concrete unit begins to flake, break, or separate. It is often associated with moisture, freezing temperatures, salt exposure, or incompatible repair materials.
Damaged masonry may absorb water more readily than an intact surface. Once saturated, it becomes increasingly vulnerable to freeze-thaw deterioration.
Replacing damaged masonry can restore the surface, but the condition that caused the damage should also be addressed.
6. Failed Sealant Joints
Sealant is used where masonry meets other materials or where movement must be accommodated.
Common locations include:
- Window and door frames
- Expansion joints
- Control joints
- Metal panels
- Roof flashing
- Utility penetrations
- Precast elements
- Changes between brick, stone, and other materials
Over time, sealant may crack, harden, pull away, or lose adhesion.
Even a small separation can allow a significant amount of water into a vulnerable transition, especially during wind-driven rain.
New sealant should be installed only after the old material is properly removed and the joint is correctly prepared.
7. Flashing and Weep Openings
In many masonry walls, some moisture is expected to pass behind the exterior brick.
Through-wall flashing collects that water, while weep openings allow it to drain outside.
Problems may occur when:
- Flashing was never installed
- Flashing is damaged or incomplete
- Seams and end dams are not sealed
- Mortar blocks the drainage cavity
- Weeps are missing or clogged
- Flashing does not connect to the drainage layer
- Water moves behind the flashing instead of onto it
Because these components are mostly hidden, flashing and drainage failures may continue for years before the source is identified.
8. Wall Penetrations
Anything passing through an exterior wall creates another potential water entry point.
Common penetrations include:
- Pipes
- Vents
- Electrical conduits
- Light fixtures
- Signs
- Railings
- Canopies
- Mechanical equipment
- Deck and balcony connections
- Anchors and fasteners
Water can enter around the penetration and follow it deeper into the wall.
Surface sealant may be part of the repair, but the penetration may also require flashing or other water-management details.
9. The Base of the Wall
Water can also enter or become trapped near the bottom of a masonry wall.
Common causes include:
- Poor grading
- Failing or improper downspouts
- Roof or pavement splashback
- Irrigation systems
- Snow accumulation
- Weeps covered by landscaping
- Flashing buried below soil or pavement
- Missing base flashing
- Blocked drainage paths
Repeated wetting near grade can contribute to efflorescence, deteriorated mortar, staining, and damage to lower bricks or stones.
Soil, mulch, pavement, and snow should remain below the wall’s intended drainage points.
Signs of Masonry Water Intrusion
Common symptoms include:
- Interior staining
- Peeling paint
- Damp finishes
- Efflorescence
- Darkened masonry
- Rust staining
- Crumbling mortar
- Spalling brick or stone
- Musty odors
- Recurring leaks after heavy rain
- Damage beneath windows, roofs, or parapets
These signs can help narrow down the possibilities, but the visible symptom may not identify the original entry point.
Repair the Water Path, Not Just the Visible Damage
Replacing a damaged brick, filling a crack, or installing new sealant may be necessary. However, those repairs will not last if moisture continues entering from another location.
A successful repair should identify:
- Where the water enters
- How it travels
- Where it collects
- How the wall is intended to drain
- Which components are missing or damaged
Capital Masonry Restoration evaluates both the visible deterioration and the surrounding building conditions. By tracing the path of the water, we can develop a repair that addresses the source instead of repeatedly treating the symptoms.
Seeing Signs of Water Around Your Masonry?
Recurring leaks, staining, deteriorating mortar, or damaged brick may indicate an issue elsewhere in the wall system.
Contact Capital Masonry Restoration to schedule an assessment and discuss the right solution for your building.